
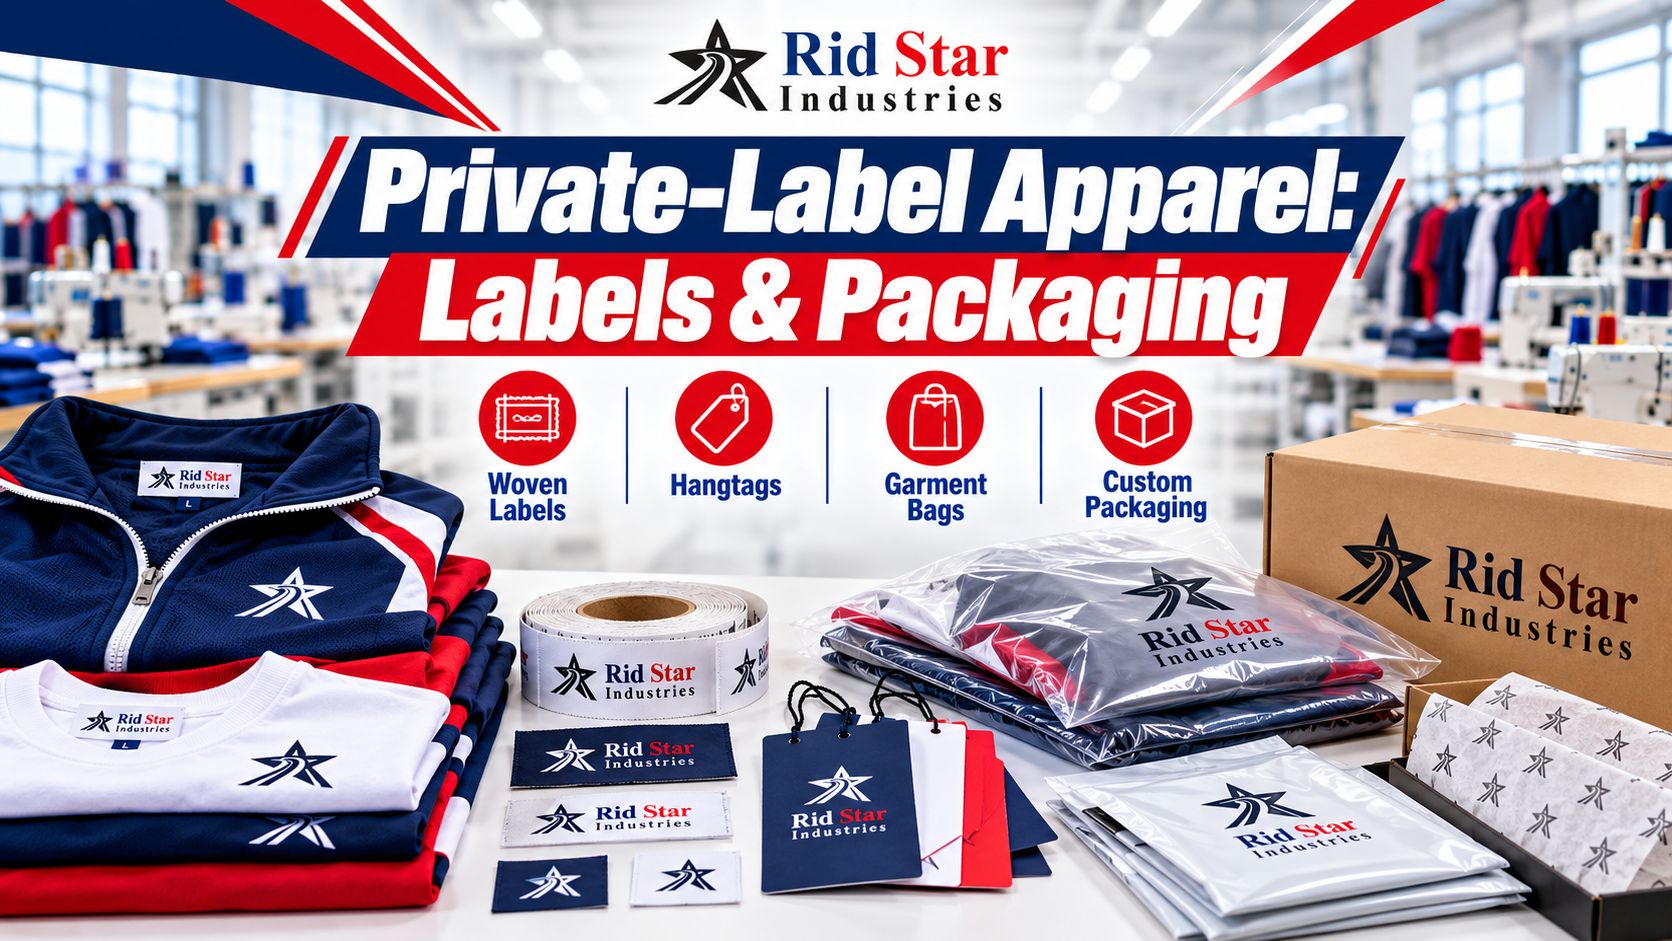
Private-Label Apparel: Labels and Packaging Buyers Should Specify
Private label apparel needs more than a logo file. Your manufacturer also needs clear instructions for how each label should be made, where it belongs on the garment and how each finished item should be packed.
For apparel brands, wholesalers and distributors, those decisions belong in the order specification. Without clear instructions, a garment can match the approved design while arriving with the wrong size sticker, an uncomfortable label position or packaging that does not suit your distribution process.
This guide explains what to include in a private-label apparel labels and packaging brief, from artwork dimensions to carton contents.
List Every Label and Packaging Component
Start with a component list for each product. Identify what stays attached to the garment, what is removed before wear and what is used for storage or delivery.
Your list might include:
- A brand label inside the neckline or waistband.
- A separate size label or size information incorporated into another label.
- A care and product-information label.
- A hangtag and its attachment.
- An individual garment bag or other agreed wrapping.
- A product-identification sticker.
- An outer carton and its markings.
Not every order needs every component. A club distributing uniforms directly to players may need different packaging from a brand supplying retail stores.
Mark each item as required, optional or not required. Ask the manufacturer to confirm availability and pricing for your chosen specification.
For the wider garment brief, our custom activewear manufacturing guide explains how to organise product, sizing and order requirements.
Specify Label Construction, Dimensions and Placement
For each garment label, discuss the proposed construction, such as woven, printed fabric or an internal heat transfer. Confirm that the chosen option suits the garment and can reproduce your artwork clearly.
Supply the finished label dimensions, colour references and artwork. For a sewn label, distinguish the visible area from any material needed for folding or attachment.
Show placement on a garment diagram or marked photograph. Identify whether a position is inside or outside the garment, and measure from a defined point such as a seam. “At the neck” leaves more room for interpretation than a marked location with dimensions.
For folded labels, show which direction the text should face after attachment. For heat-transfer branding, ask the manufacturer to confirm suitability for the actual fabric and agree on the checks needed before approval.
Review the label on the garment, not only as a loose piece. Check readability, edge feel, attachment and comfort during wear.
Separate Brand Artwork from Product Information
Keep the logo artwork separate from information that changes by product, size or destination.
For example, one brand label may be shared across a collection while size markings and product-information labels differ. Give each version a clear reference so the factory can match it to the correct garment.
Prepare a label schedule recording the style, colour, size, label-file reference and required quantity. If a coordinated set contains two garments, specify the labels for each piece.
Confirm the destination-market requirements before approving product-information wording. Do not copy composition, care instructions or other declarations from a similar-looking garment.
Agree who will supply, review and approve the final wording. Keep unresolved text marked as pending rather than allowing a placeholder to reach production.
Prepare Hangtag and Product-Identification Files
If you require hangtags, specify their dimensions, material, printing on each side, hole position and attachment method. Show where the tag should be attached without leaving avoidable marks or damage.
Decide which details are fixed and which vary. A common brand message may stay the same, while the product code, size, colour or price changes between items.
Where barcodes are required, provide the correct data and the retailer or fulfilment provider’s instructions. Check both the printed information and whether the finished code scans correctly.
Use one approved data sheet for variable information. Avoid sending separate lists that describe the same colour or style differently.
For instance, if your stock system uses “NAVY” and a specific style code, use those agreed identifiers consistently on the garment packaging and packing list.
Define How Each Garment or Set Will Be Packed
Specify whether garments are packed individually, as coordinated sets or in agreed groups. Include folding instructions and identify any tissue, inserts or protective materials you require.
For a jersey-and-shorts set, state whether both garments share one package. If top and bottom sizes can differ, make sure the outside identification records both sizes.
Ask for packaging dimensions suitable for the folded product. Review the closure and how the item can be identified without unpacking it.
A short packing instruction might read:
“Pack one training shirt per bag. Place the style, colour and size sticker on the front in the marked position. Keep the garment label and sticker details consistent.”
Adapt the instruction to your own order. Do not assume that a stock packaging option includes custom printing or individual identification.
Plan Cartons Around Receiving and Distribution
Tell the manufacturer how the order will be received and sorted. A warehouse may need cartons separated by style and size; a team coordinator may prefer complete player sets grouped together.
Agree on the carton contents, identification and packing-list format. If cartons contain mixed sizes or products, require a breakdown that shows where each item can be found.
Specify any receiving requirements supplied by your warehouse or distributor, including carton weight limits, label positions or appointment details where applicable.
Ask how packaging choices affect shipping dimensions and the delivery quotation. Compare the proposed packed order rather than assuming different packaging options will have the same transport cost.
Keep the carton numbering consistent with the final packing list so shortages or sorting questions can be traced to a particular carton.
Confirm Minimums, Costs and Unused Components
Ask whether labels and packaging have minimum quantities separate from the garments. A low garment MOQ does not establish the minimum for every custom component.
Request clarification on artwork preparation, setup, physical samples, attachment and packing charges. Confirm which costs are included in the garment price.
If more labels or bags must be purchased than the current order uses, agree who pays for them and what happens to the remaining stock. Discuss storage, ownership, future use and the position if your artwork changes.
For reorders, retain the approved component references and reconfirm availability. Do not assume a new production run will automatically use the same label dimensions, material or packaging.
Approve One Complete Packed Example
Before bulk labelling and packing, review a complete example containing the garment, attached labels, hangtag, wrapping and identification sticker.
Check the components together:
- Do the garment, tag and package show the same size and product details?
- Are label positions and orientations correct?
- Is the artwork readable at the finished size?
- Does the folded garment fit the packaging properly?
- Can receiving staff identify the item without opening it?
- Does the example match the latest approved files?
Record corrections against the relevant component reference. Once approved, keep the packed example and written specification available as production references.
This review complements the garment’s fit, construction and decoration approval; it does not replace those checks.
Discuss Private-Label Apparel with Rid Star
Rid Star Industries manufactures custom sports uniforms, activewear, casual apparel and fitness wear for B2B buyers. Our capabilities include woven labels, private labels and custom packaging.
Our minimum order quantity is 10 pieces/sets. Share your garment breakdown and proposed branding components so availability, component minimums and costs can be confirmed.
Use our quote builder to send your product requirements, artwork, branding and packaging details. Include your intended destination and distribution needs so the quotation can address how the finished order should be prepared.