
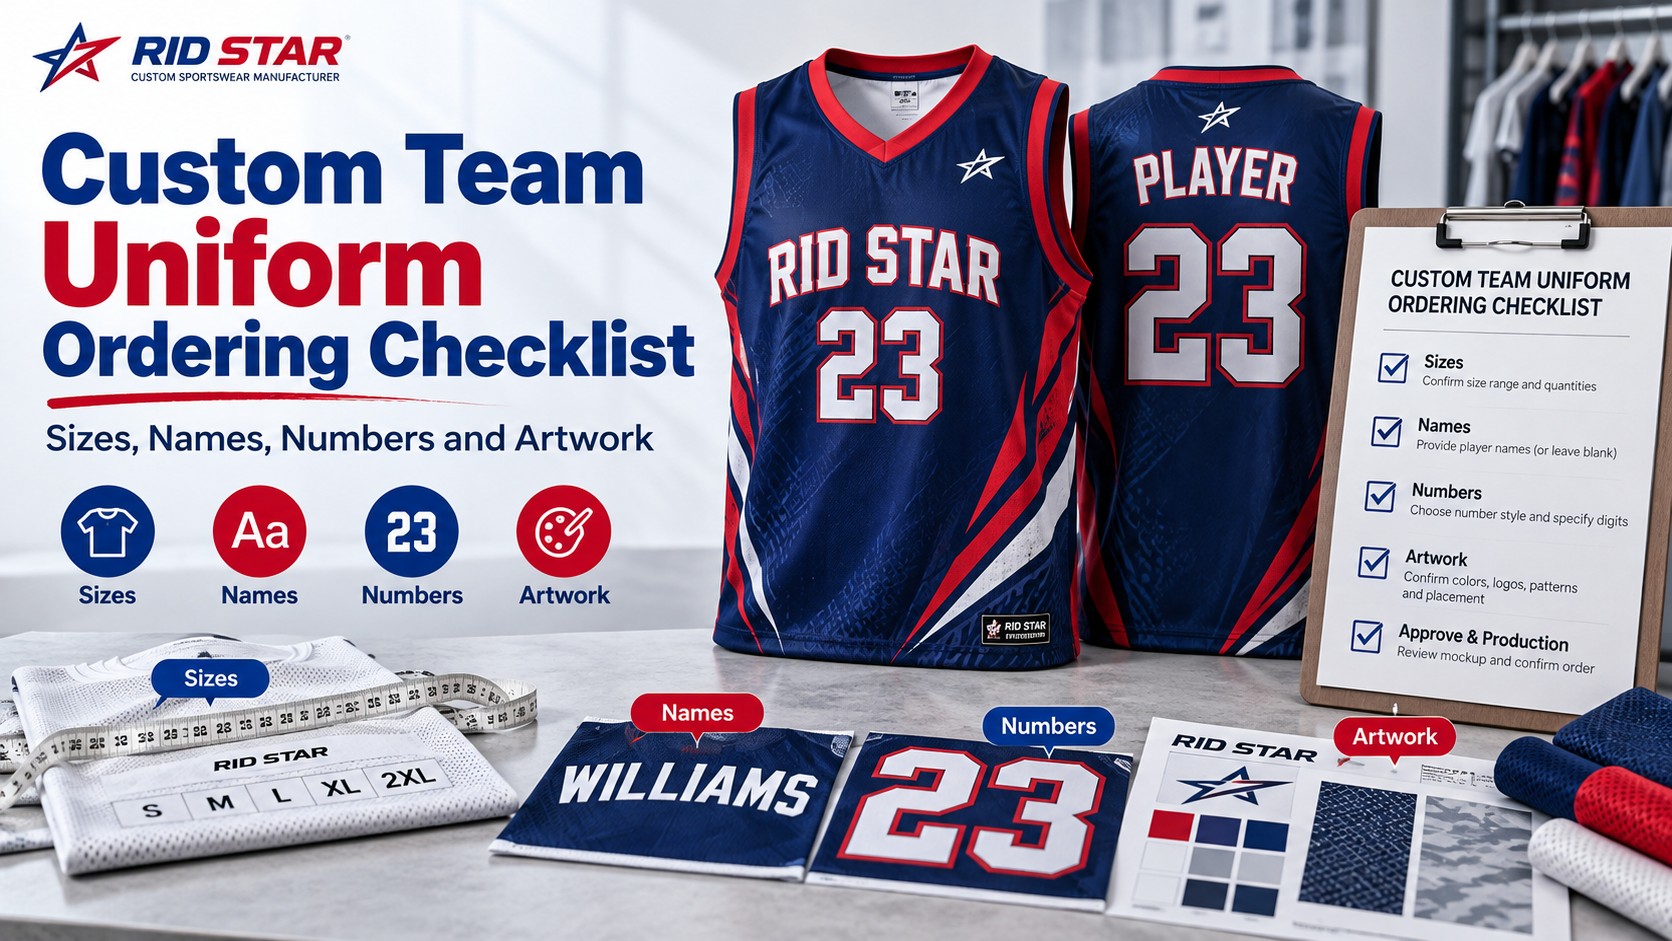
Custom Team Uniform Ordering Checklist: Sizes, Names, Numbers and Artwork
A custom team uniform order combines shared design decisions with individual player details. The jersey design may be correct, but one outdated size list or misspelled name can still leave a player with the wrong kit.
For clubs, schools, universities and teamwear distributors, the key is to bring garment quantities, sizes, personalisation and artwork into one controlled order record before production begins.
This custom team uniform ordering checklist explains what to collect, how to organise it and what to approve. Use it when preparing a new kit order or coordinating several squads with different sizes and design requirements.
For help selecting a decoration method, our sublimation vs screen printing guide compares fabric compatibility, design coverage and personalisation.
Confirm What Each Player Will Receive
Define the contents of the order before collecting sizes. “One uniform set” could mean a jersey and shorts, a shirt and trousers, or another combination. List each included garment so the buyer and manufacturer are quoting the same products.
Separate match uniforms from training wear, warm-up garments and staff clothing. Identify home and away designs clearly, along with any different goalkeeper or player-role requirements.
Record:
- The sport, team and squad or age group.
- Each garment included in a set.
- The design reference for each kit version.
- The number of sets required per player.
- Any separately ordered garments or spare stock.
- The delivery destination and required arrival date.
For example, 20 players receiving one home set and one away set require 40 sets. If each set contains a jersey and shorts, that represents 80 individual garments. Make both the set count and garment breakdown explicit.
Nominate one order coordinator to collect changes and communicate the approved details to the manufacturer. This helps prevent conflicting instructions from players, coaches and purchasing staff.
If materials are still undecided, read our guide to choosing the right fabric for sports uniforms before finalising the garment specification.
Build One Master Roster for Sizes and Personalisation
Use one spreadsheet as the master order record. Keep one row for each player and kit version, with separate columns for garment sizes, printed details and quantity.
For a jersey-and-shorts order, the roster could look like this:
| Player reference | Kit version | Jersey size | Shorts size | Name to print | Number to print | Sets |
|---|---|---|---|---|---|---|
| P01 | Home | Adult M | Adult L | KHAN | 07 | 1 |
| P02 | Home | Adult S | Adult S | ALI | 12 | 1 |
| P03 | Home | Youth L | Youth L | NO NAME | 18 | 1 |
These are illustrative entries, not a size recommendation. Use the size labels from the manufacturer’s approved chart and identify the garment cut where relevant.
Keep the player reference separate from the name to be printed. A player may want a surname, initials or no printed name at all. Define an explicit instruction such as “NO NAME” instead of leaving a blank cell that could be mistaken for missing information.
Format the number column as text when leading zeros are required, so “07” is not changed to “7.” Check spelling, capitalisation, punctuation and any accented characters exactly as they should appear.
Give the file a version number and date. When changes are needed, update the master roster and identify the revised entries rather than relying on scattered messages. Before approval, confirm that its totals match the order quotation.7
Confirm Sizes Against the Correct Garment Chart
Collect sizes using the manufacturer’s chart for the exact garment and cut being ordered. A player’s usual T-shirt size or last season’s jersey label may not match the new kit.
Check whether the chart shows body measurements or finished-garment measurements, and follow the supplied measuring instructions. Record shirt, shorts and trouser sizes separately rather than assuming every player needs the same size throughout a set.
Where practical, arrange a sizing session using representative samples. Players should assess movement and comfort, including any protective equipment normally worn beneath the uniform. Ask the manufacturer how the garment is intended to accommodate that equipment rather than automatically selecting a larger size.
Before finalising the roster:
- Distinguish youth and adult sizes clearly.
- Identify different cuts where offered.
- Confirm each player’s size selection.
- Resolve missing entries instead of estimating them.
- Record the size-chart version used for the order.
Set a deadline for size confirmation and explain when changes will stop being accepted. Keep a record of the approved selections so later corrections can be traced to the right order version.
Check Artwork, Names and Numbers Together
Review the artwork and roster as one approval package. A correct design mockup does not confirm that every player’s name, number and size has been matched correctly.
Supply the original logo files where available, along with colour references and the required dimensions and positions. Identify different sponsor logos or badges for home, away, goalkeeper and training garments.
Check the proof for:
- Team and sponsor names, spelling and logo proportions.
- Front, back and sleeve placements.
- Number style, size and colour.
- Printed-name style and capitalisation.
- Contrast between lettering and the surrounding design.
- Differences between kit versions.
Ask how longer names and smaller youth sizes will be handled. Agree whether lettering will be resized or arranged differently, and request representative proofs for these cases.
Review repeated player numbers and confirm whether they are intentional, especially when ordering for several squads. Check any applicable competition requirements with the organiser before approving the design.
Use the final roster to verify personalised details. If the supplier provides individual proofs, check each one against its matching row. Clearly identify both the approved artwork version and the approved roster version in your production sign-off.
A digital proof confirms layout and content; it does not establish the exact printed colour or fabric feel. Use a physical sample when those details need approval.
For help selecting a decoration method, our sublimation vs screen printing guide compares fabric compatibility, design coverage and personalisation.
Complete a Final Check Before Authorising Production
Before giving approval, compare the quotation, garment specification, artwork and roster. They should describe the same order, with no unresolved sizes, missing names or conflicting design versions.
Use this final checklist:
- Garment types and set contents are clearly listed.
- Quantities match across the quotation and roster.
- Every garment has a confirmed size and cut.
- Printed names and numbers have been checked.
- Home, away and other kit versions are correctly assigned.
- Fabric, colours and decoration details are agreed.
- Any required sample corrections have been resolved.
- Packaging, delivery details and payment terms are confirmed.
- The approved artwork and roster have identifiable version numbers.
Send one written production approval that identifies the exact files being authorised. Avoid a brief “looks good” reply where several versions are attached to the same conversation.
If anything changes after approval, contact the manufacturer before assuming it can be amended. Ask whether production has started and what the change means for cost and delivery. Keep the revised instruction and its acceptance with the order record.
Plan Delivery, Distribution and Replacement Orders
Work backwards from the date the uniforms must be available for players. Allow time for sampling, revisions, production, shipping and checking the delivery before the first match or event.
Confirm the delivery address, recipient and contact number. Ask the supplier to distinguish the expected dispatch date from the estimated arrival date.
Agree on packing instructions that make distribution easier. For several squads, request separation by team or kit version. If individual sets need to be grouped, confirm how each package will be identified and whether this adds cost.
When the order arrives, count and inspect it against the approved roster before handing out the kit. Check garment sizes, printed names, numbers and set contents. Record any discrepancy with photographs and the relevant player reference, then contact the supplier promptly.
For future replacements, retain the order reference, approved artwork, fabric specification and size chart. Ask about reorder minimums and material availability rather than assuming a single replacement can always be supplied.
If you need spare uniforms for late registrations, decide their sizes and personalisation before placing the main order. There is no single spare quantity that suits every club; base it on your roster stability and budget.
For future replacements or additional players, our guide to repeat orders for custom sportswear explains which records to retain and what to reconfirm before ordering again.
Prepare Your Team Uniform Order with Rid Star Industries
Rid Star Industries manufactures custom sports uniforms in Sialkot, Pakistan, for clubs, schools, universities, distributors and other B2B buyers. Our sports range includes soccer, basketball, American football, baseball, rugby, ice hockey and cricket uniforms.
Our minimum order quantity is 10 pieces/sets. Share the sport, garments required, quantity breakdown, design references and delivery destination so we can discuss the options for your order.
You can request an initial quotation while some player details are still being collected. Clearly identify what is provisional, then confirm the final roster and artwork before authorising production.
soccer → Soccer manufacturing page
basketball → Basketball manufacturing page
Request a custom team uniform quote to submit your requirements and upload your artwork.f