
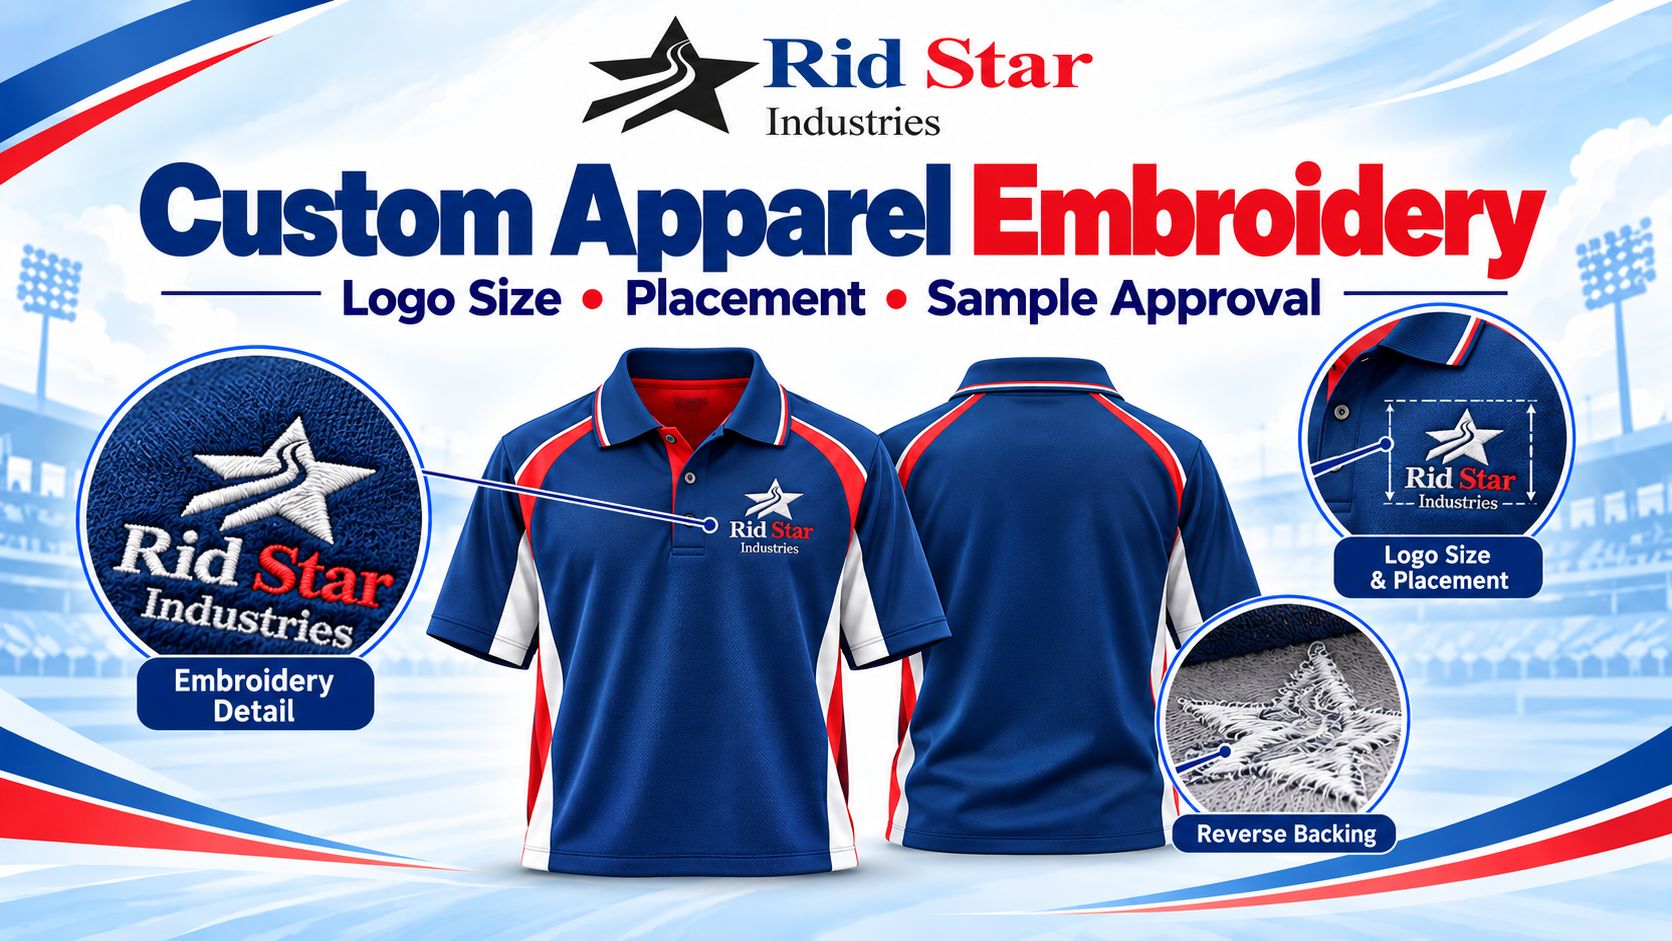
Custom Apparel Embroidery: Logo Size, Placement and Sample Approval
Custom apparel embroidery turns artwork into stitched decoration. For brands, teamwear suppliers, schools and wholesalers, the finished result depends on more than the logo file: its size, the garment fabric, placement and embroidery setup all need to work together.
A logo that looks clear on screen may lose small lettering when stitched at chest size. A sample that works on a hoodie may also behave differently on a lightweight sports shirt.
Before approving production, define the embroidered result you expect and review it on the proposed garment. This guide explains what to include in your brief and how to assess the sample.
Supply Clear Artwork and Identify Important Details
Send the clearest original artwork available, preferably a vector file where you have one. Include the wording, colour references and any brand guidelines that must be followed.
Identify details that cannot be changed without approval. These might include the logo proportions, a particular symbol, lettering or the space between design elements.
Embroidery digitising converts the artwork into stitch instructions. It involves decisions about how shapes and lettering will be stitched; supplying a print-ready logo does not remove the need for this preparation.
If you already have an embroidery file, provide it with a photograph of an approved stitched result. Ask the manufacturer to assess whether it suits the new fabric, size and placement rather than assuming it can be reused unchanged.
Confirm the Finished Logo Size
State the finished width and height, using one measurement unit consistently. A request for a “small chest logo” leaves the manufacturer to interpret the size.
Review the design at its intended dimensions. Pay attention to small lettering, thin lines, narrow gaps and closely spaced elements.
There is no universal minimum lettering size that works for every design and fabric. Ask whether the proposed wording remains readable and whether any detail needs enlargement or simplification.
Have the manufacturer identify proposed artwork changes before digitising or sampling. Do not allow a missing slogan or altered symbol to become an unrecorded production decision.
If the same logo will appear at different sizes across the collection, approve each required version. Enlarging or reducing an embroidery file may require changes to its stitch setup.
Specify Placement from Defined Reference Points
Show the logo position on a garment drawing or marked photograph. State whether the placement refers to the design’s centre, top edge or another defined point.
Include measurements from identifiable garment features. Depending on the product, these might be the centre front, shoulder seam, pocket edge or another agreed reference.
For example, “left chest” identifies the general area but does not establish the distance from the neckline or centre front. A marked drawing makes the instruction easier to reproduce.
Check how the placement relates to the garment’s construction:
| Garment area | What to review |
|---|---|
| Chest | Position relative to neckline, centre front and pockets |
| Sleeve | Orientation, seam position and appearance when worn |
| Hoodie | Clearance from pocket edges, zip and hood |
| Stretch panel | Appearance and comfort during movement |
| Multiple sizes | Whether placement remains suitable across the range |
Agree how placement will be handled across sizes. A position approved on one sample size may need further review on smaller or larger garments.
Match the Embroidery to the Fabric
Confirm the actual fabric before approving the embroidery. Record its composition, construction and weight alongside the garment specification.
Lightweight, stretchy or textured materials can need different embroidery preparation. Ask the manufacturer to assess the backing, thread, needle and stitch setup for the selected material and design.
Backing supports the fabric during stitching and may remain behind the finished embroidery. Review its appearance and feel, especially where it could contact the wearer’s skin.
Inspect the sample while the garment is relaxed and during normal movement. Look for pulling, puckering, stiffness or distortion around the logo.
For fabric selection questions, our sports-uniform fabric guide explains why composition, construction and GSM should be considered together.
Approve Thread Colours on the Stitched Sample
Provide your required colour references and ask the manufacturer to identify the proposed thread colours.
A screen image helps communicate the design, but it does not establish the finished thread’s appearance. Review an actual stitched sample against the agreed reference where colour matching matters.
Check the contrast between lettering and the garment. A logo can use the intended colours yet remain difficult to read at the selected size.
If the design must coordinate with printed artwork, review those elements together. Different decoration processes may produce different appearances, so discuss acceptable matching before approval.
Keep the approved thread references with the artwork version and sample record for future orders.
Inspect the Front and Reverse of the Embroidery
Review the embroidery on the proposed production fabric, ideally in the intended garment position. If the sample uses a substitute material or a different setup, ask the manufacturer to identify that difference.
Use these checks:
- Confirm wording, proportions and finished dimensions.
- Check that small lettering is readable.
- Inspect edges, gaps and alignment between colours.
- Look for loose threads, missed areas and unwanted stitches.
- Check for puckering or visible fabric damage.
- Review backing, trimming and comfort on the reverse.
- Confirm placement against the approved measurements.
For hoodies, assess the decoration with the pocket, hood and zip arrangement where applicable. Our private-label hoodie buying guide covers those garment details.
Photographs can document visible issues. Include a close-up and an overall garment view, with measurements where the problem concerns size or placement.
Report Problems Precisely Before Bulk Approval
Describe the observed defect rather than requesting a general improvement.
For example, “The lower line of lettering is difficult to read at the approved width” gives the manufacturer a specific issue to assess. “The fabric gathers around the right edge of the logo” identifies where puckering occurs.
Puckering can involve several factors, including fabric stabilisation, hooping, thread tension and stitch density. Ask for an assessment and another sample rather than assuming that one adjustment will resolve every case.
Agree on any washing checks using the proposed care instructions. Record changes in the garment, embroidery and surrounding fabric.
Consolidate feedback into one list and identify what is approved, what needs correction and what remains pending. Our custom apparel sample-review guide explains how to document that approval clearly.
Clarify Embroidery Costs and Repeat-Order References
Ask whether the quotation includes digitising, sampling and each required embroidery location.
Identify how many design versions are needed and whether sizes, colours or wording vary across the order. Individual names may require different preparation from one logo repeated on every garment.
Confirm charges for artwork changes and additional samples. Keep the finished garment price separate from any order-level setup charges so costs are not counted twice.
For repeat orders, retain the approved embroidery reference, dimensions, thread colours, placement and garment specification. Reconfirm suitability if the fabric or logo size changes.
Discuss Your Embroidered Apparel Order with Rid Star
Rid Star Industries is a B2B custom sportswear and apparel manufacturer based in Sialkot, Pakistan. Embroidery is one of our customisation options for suitable garments and designs.
Our minimum order quantity is 10 pieces/sets. Share the product, fabric preferences, quantity breakdown and artwork so the proposed decoration can be assessed.
Include the finished logo dimensions, placement references and any important lettering or colour requirements. If you have an approved embroidered garment, provide photographs or a sample reference to explain the result you want.